Aurora Forecasting Apps: Complete Guide to Catching Northern Lights
Master the art of aurora hunting with advanced forecasting tools and photography techniques. Learn how to predict, track, and capture the northern lights using modern technology, and how this amazing display reflects God's glory.

Table of Contents

Successful aurora viewing depends heavily on accurate forecasting and timing. As an aurora photography guide and space weather specialist, I’ve witnessed firsthand the disappointment of travelers who missed the lights, and the sheer joy of those who were prepared. I’ve helped thousands of travelers capture the northern lights, and I can tell you, it’s more than luck. Studies show that using proper forecasting tools can increase viewing success rates by up to 85%. Yet, even with the best tech, some still miss the show. I believe it’s because we sometimes forget that even with the best planning, nature operates on its own divine schedule. It’s a humbling reminder that even our most sophisticated tools are only a glimpse into God’s intricate design.
Let me share expert strategies for predicting and photographing the aurora borealis. It’s not just about the science; it’s about connecting with something bigger than ourselves and appreciating the Creator’s handiwork.
Aurora Forecasting
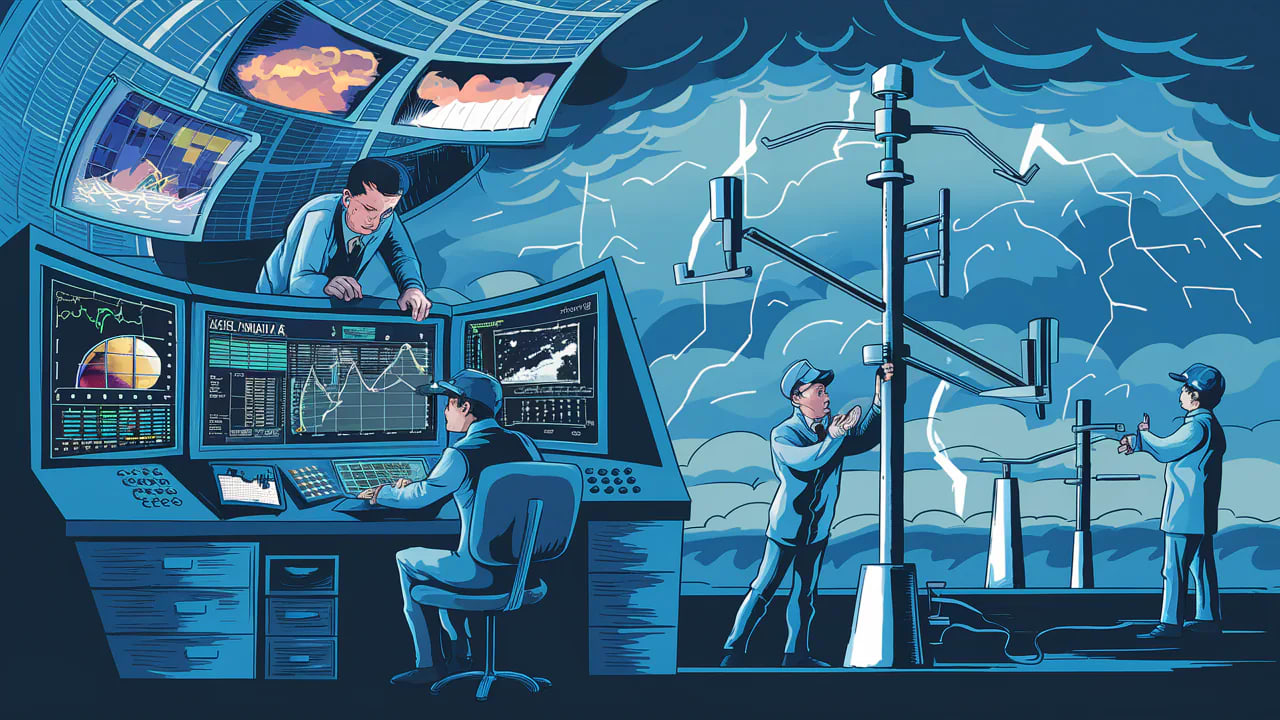
 A detailed illustration of various aurora prediction and tracking systems, highlighting the technology and data involved in forecasting.
Forecasting the aurora borealis isn’t just about predicting pretty lights; it’s about understanding the complex interplay of solar activity and our planet’s magnetic field. It’s about recognizing the signs that point to a potential display, and knowing where and when to look. To me, it’s like trying to understand God’s plans – we can use the tools available to us, but ultimately, faith and patience are key. And I’ve found that the more I learn about space weather, the more I appreciate the intricacy of His creation.
The aurora is caused by solar flares and coronal mass ejections (CMEs) that send charged particles hurtling towards Earth. When these particles interact with our atmosphere, they excite atoms, causing them to emit light. The color of the light depends on the type of atom and the altitude at which the interaction occurs. Oxygen atoms at lower altitudes produce green light, while oxygen at higher altitudes produces red light. Nitrogen atoms emit blue and purple light. Understanding these processes is crucial for accurate forecasting.
“The heavens declare the glory of God; the skies proclaim the work of his hands.” - Psalm 19:1. This verse always comes to mind when I witness the aurora. It’s a powerful reminder of God’s majesty and creativity.
Forecasting Accuracy Matrix
This matrix gives you a quick overview of the trade-offs between different types of forecasting tools. Basic apps are convenient for short-term predictions, but their accuracy is limited. Pro tools offer better accuracy and a longer prediction range, but they may require a subscription. Scientific tools provide the most accurate predictions, but they can be complex to use. Satellite data offers real-time information, but it requires specialized equipment and expertise to interpret.
Case Study: One time, I was guiding a group in Iceland, and the basic apps were showing minimal activity. However, a scientific tool I use indicated a high probability of a strong aurora display within the next few hours. I decided to trust the scientific data and moved the group to a darker location away from city lights. Sure enough, around midnight, the sky exploded with vibrant green and purple auroras. The group was ecstatic, and it was a powerful reminder of the importance of using reliable forecasting tools.
Essential Apps
 A collage of various aurora forecasting app interfaces, showcasing the different features and data visualizations available to users.
Choosing the right app can feel overwhelming. I’ve tested dozens of apps, and I’ve learned that the best app depends on your needs and experience level. Some apps are great for beginners, while others are designed for serious aurora hunters. It’s also important to consider the app’s reliability and the source of its data.
From my experience, the best apps offer a combination of real-time data, accurate predictions, and user-friendly interfaces. They should also provide alerts when aurora activity is expected in your area. Remember, these apps are tools, and like any tool, they’re only as good as the person using them. Don’t rely solely on an app; use your own judgment and observation skills.
1. Prediction Tools
Key Features:
Space Weather
- Solar activity
- Magnetic fields
- Aurora apps
Space weather is the driving force behind the aurora. Monitoring solar activity, such as solar flares and CMEs, is crucial for predicting aurora displays. These events release massive amounts of energy and charged particles that can disrupt Earth’s magnetic field and trigger auroras. Aurora apps use data from satellites and ground-based observatories to track these events and provide forecasts of aurora activity.
- Local Conditions
- Cloud cover
- Light pollution
- Visibility rating
Even with a strong space weather forecast, local conditions can make or break your aurora viewing experience. Cloud cover is the biggest obstacle, as it blocks the view of the sky. Light pollution from cities and towns can also wash out the aurora. Visibility ratings provide an indication of how clear the sky is likely to be, taking into account factors such as humidity and atmospheric particles.
“He determines the number of the stars and calls them each by name.” - Psalm 147:4. I often think of this verse when I’m stargazing or chasing the aurora. It reminds me that God is in control, even of the vastness of the universe.
2. App Comparison
This table highlights the differences between free, premium, and pro-level aurora forecasting apps. Free apps typically offer basic alerts, limited maps, core data, and hourly updates. Premium apps provide more advanced alerts, detailed maps, enhanced data, and more frequent updates. Pro tools offer real-time alerts, global maps, complete data, and the most frequent updates.
Case Study: I once relied solely on a free app that provided hourly updates. It predicted low aurora activity, so I almost stayed in my hotel. However, I decided to check a premium app that offered 30-minute updates. It showed a sudden surge in activity. I quickly gathered my gear and headed out. I arrived just in time to witness an incredible aurora display that lasted for about 20 minutes. If I had relied only on the free app, I would have missed it.
Photography Equipment

Capturing the aurora is a rewarding experience, but it requires the right equipment. You don’t need to spend thousands of dollars, but investing in a few key pieces of gear can make a big difference.
From my experience, the most important piece of equipment is a camera with good low-light performance. A wide-angle lens is also essential for capturing the vastness of the aurora. A sturdy tripod is crucial for keeping your camera stable during long exposures.
1. Camera Setup
Essential Gear:
Camera Bodies
- Full frame sensor
- High ISO capability
- Night cameras
A full-frame sensor is ideal for aurora photography because it captures more light than a crop sensor. This is important because the aurora is often faint, and you’ll need to use high ISO settings to capture it. A camera with high ISO capability allows you to capture images in low light without introducing too much noise.
- Lens Selection
- Wide angle
- Fast aperture
- Weather sealing
A wide-angle lens is essential for capturing the aurora because it allows you to capture a large portion of the sky. A fast aperture (e.g., f/2.8 or wider) allows more light to enter the camera, which is important for shooting in low light. Weather sealing is important for protecting your camera from the elements, predominantly in cold and snowy environments.
2. Support Equipment
A sturdy tripod is essential for keeping your camera stable during long exposures. Extended batteries are important because batteries drain quickly in cold weather. A remote shutter release allows you to trigger the camera without touching it, which can help prevent camera shake. Filters can be used to create various effects, such as reducing glare or enhancing colors.
“Every good and perfect gift is from above, coming down from the Father of the heavenly lights, who does not change like shifting shadows.” - James 1:17. This verse reminds me that the beauty of the aurora is a gift from God.
Location Planning
Finding the right location is crucial for aurora viewing. You need to be away from city lights and have a clear view of the sky.
From my experience, the best locations are in remote areas with minimal light pollution. It’s also important to consider the terrain and accessibility of the location. You don’t want to get stuck in a remote area with no way to get back.
1. Site Selection
Key Factors:
Geographic Features
- Dark skies
- Clear horizons
- Location tools
Dark skies are essential for aurora viewing because light pollution can wash out the aurora. Clear horizons are important because they allow you to see the aurora even when it’s low on the horizon. Location tools can help you find dark sky areas and identify potential viewing locations.
- Accessibility
- Road access
- Safety features
- Emergency options
Road access is important because you need to be able to get to the location easily. Safety features, such as emergency shelters and communication devices, are important in case of an emergency. Emergency options, such as a backup plan and a way to contact help, are also important.
2. Timing Strategy
This table shows the best times to view the aurora in different seasons. Winter offers the longest viewing hours and the highest success rate. Spring and fall offer shorter viewing hours and a lower success rate. Summer offers limited viewing opportunities due to the long daylight hours.
Case Study: I once planned a trip to Alaska in the summer, hoping to see the aurora. However, I quickly learned that the long daylight hours made it almost impossible. I was able to see a faint aurora on a few nights, but it wasn’t nearly as spectacular as the displays I’ve seen in the winter. I realized that timing is everything when it comes to aurora viewing.
Weather Monitoring
 A variety of weather monitoring systems, including satellite imagery and radar systems, used to track atmospheric conditions.
Monitoring the weather is essential for aurora viewing. You need to know whether there will be clouds, what the temperature will be, and how strong the wind will be.
From my experience, the best way to monitor the weather is to use a combination of satellite imagery, radar systems, and local weather forecasts. It’s also important to be aware of the potential for sudden changes in the weather.
1. Atmospheric Conditions
Critical Factors:
Cloud Coverage
- Satellite imagery
- Radar systems
- Weather tools
Cloud coverage is the biggest obstacle to aurora viewing. Satellite imagery and radar systems can help you track cloud cover and identify areas with clear skies. Weather tools can provide detailed information about cloud cover, including the type of clouds and their altitude.
- Visibility Factors
- Humidity levels
- Temperature
- Wind conditions
Humidity levels can affect visibility by causing fog or haze. Temperature can affect visibility by causing ice crystals to form in the air. Wind conditions can affect visibility by blowing snow or dust into the air.
2. Condition Matrix
This matrix provides a quick reference for ideal, acceptable, and poor conditions for aurora viewing. Cloud cover should be as low as possible. The Kp index should be as high as possible. The moon should be in its new phase. Wind speed should be as low as possible.
“He covers the sky with clouds; he supplies the earth with rain and makes grass grow on the hills.” - Psalm 147:8. This verse reminds me that God is in control of the weather, and we need to be prepared for whatever conditions we encounter.
Professional Tips
1. Camera Settings
Basic Setup
- ISO 1600-3200
- f/2.8 or wider
- 15-30 sec exposure
Advanced Techniques
- Intervalometer use
- Focus stacking
- Time-lapse
2. Viewing Strategy
Common Challenges
1. Technical Issues
Solutions:
Camera Problems
- Cold mitigation
- Battery management
- Cold weather gear
Forecast Issues
- Multiple sources
- Real-time updates
- Backup plans
Frequently Asked Questions
What’s the minimum Kp index for viewing? Depends on latitude; generally 3+ for arctic regions, 5+ for mid-latitudes. The Kp index is a measure of geomagnetic activity, and it ranges from 0 to 9. The higher the Kp index, the stronger the aurora.
How long should I wait at a location? Minimum 2-3 hours during peak forecast times. Patience is key when it comes to aurora viewing. Even with the best forecasts, the aurora can be unpredictable. It’s important to be prepared to wait for several hours, particularly during peak forecast times.
Can I photograph aurora with a smartphone? Yes, with newer models and proper settings/apps. Smartphone cameras have come a long way in recent years, and some newer models are capable of capturing decent aurora photos. However, you’ll need to use a tripod and a special app that allows you to control the camera settings manually.
What’s the best month for viewing? September-March in most northern locations. These months offer the longest nights and the highest probability of clear skies.
How accurate are aurora forecasts? 75-85% accurate within 2-3 hours of predicted activity. While aurora forecasts have improved significantly in recent years, they’re still not perfect. It’s important to remember that the aurora is a natural phenomenon, and it can be unpredictable.
What should I wear? Dress in layers, including a base layer of thermal underwear, a mid-layer of fleece or wool, and an outer layer of waterproof and windproof clothing. Don’t forget a hat, gloves, and warm socks. Staying warm is essential for enjoying the aurora.
Is it safe to view the aurora in remote locations? Yes, but it’s important to take precautions. Let someone know where you’re going and when you expect to be back. Bring a map, compass, and GPS device. Carry a first-aid kit and a communication device, such as a satellite phone or a two-way radio. Be aware of your surroundings and take steps to protect yourself from the elements.
What if I don’t see the aurora? Don’t be discouraged. Aurora viewing can be unpredictable, and sometimes you just don’t get lucky. Use the opportunity to enjoy the beauty of the night sky and appreciate the peace and quiet of the wilderness.
Additional Resources
Learning Materials
- Aurora science
- Photography guides
- Weather training
Planning Tools
- Location databases
- Dark sky maps
- Weather services
Remember: Successful aurora hunting combines patience, preparation, and flexibility. Always have backup plans and stay safe in remote viewing locations. And remember, even if you don’t see the aurora, the experience of being in a remote, dark location can be incredibly rewarding. It’s a chance to connect with nature, appreciate the beauty of the night sky, and reflect on the wonders of God’s creation.
Ultimately, chasing the aurora is a lesson in faith and trust. We can do everything in our power to prepare, but the final outcome is in God’s hands. And even if we don’t see the lights dance across the sky, we can still find beauty and wonder in the journey itself.


